Hello fellow modelers
First I'd like to introduce myself - I come from Slovakia and as my Polish is very poor my posts will be in English. I hope it will not be a big problem.
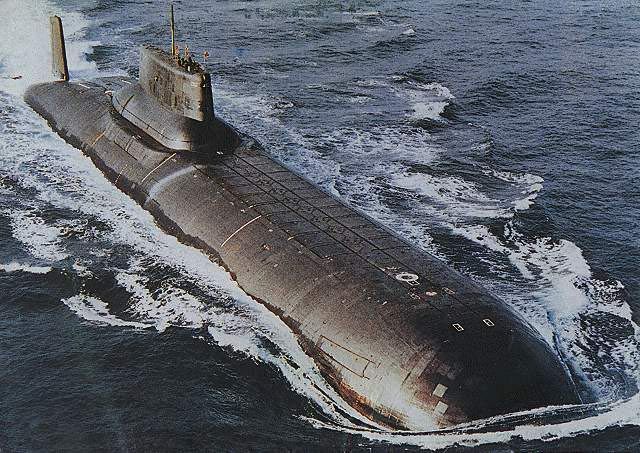
I watch your forum for quite some time and since I've just started with a new model I decided to contribute with my wee bit. It is a model of Soviet / Russian submarine Project 941 "Akula" (Shark), in NATO countries known as the Typhoon class. (It should be noted that there are often misconceptions confused with Project 971 submarines 'Schuka-B' as this class is known in NATO as Akula).
Brief History:
Projet 941 USSR emerged as a response to the U.S. Ohio class SSBN 726 armed with 24 Trident I ballistic missiles.
Specification for a new class of submarines has been released in the year 1972. The proposal was given to CKB Rubin design office in Leningrad under the leadership of chief designer S.N.Kovalev. Simultaneously with the submarine was in the design bureau of V.P.Makajev developed a new type of weapon system D-19 with intercontinental missiles RSM-52, also known as R-39. Missiles R-39 (in NATO code SS-N-20 'Sturgeon') may be fired from under the sea level, affecting 8,300 kilometers and can carry up to 10 nuclear warheads, each with 100 kt TNT equivalent. Weight and dimensions of new missiles resulted in submarines' unusual arrangement. Compared with the U.S. Ohio Akula bears 'only' 20 pieces, placed before the fin between the two pressure hulls. In front of the missile section is located torpedo compartment. Commanding section is located under the tower, on its sides are located two rescue capsules which, if necessary, can accommodate the entire crew. In the back of the submarine is the motor block whose hearts are two nuclear reactors. This 'catamaran' arrangement brought on the one hand, increased security and resistance to damage but also meant an enormous increasing of displacement and vessel dimensions. Despite similar length as Ohio has Akula double the size of displacement, which makes it by far the biggest submarine in history.
Akulas were designed for operation under the Arctic ice sheet where they can easier evade the submarines of opponent and, if necessary emerge through layers of ice and launch their deadly arsenal. Their operational base is Zapadnaya Litsa in northwestern Russia.
Of the 941 project was completed six ships, building of the seventh was discontinued due to collapse of the USSR. Currently 3 remain operational (TK-208 'Dmitri Donskoi' TK-17 "Arkhangelsk" and TK-20 'Severstal'). TK-208 has been upgraded to standard 941UM and serves on the testing of new missiles RSM-56 "Bulava-M" (NATO: SS-NX-32). Rockets' Bulava-M will form the armament of the new, less ambitious Project 955 class submarines 'Borei'. Just enormous development costs, production and operation of the 941's were one of the nails in the coffin of the USSR, whose economy was unable to finance such great projects in long term.
Basic data:
Displacement:
on the surface: 23 200 t
underwater: 48 000 t
Dimensions:
length: 170.0 m
width: 23.3 m
Diving depth: 500 m
Drive: 2 * 190 MW pressurized water reactors
2 * 37 MW steam turbines
Armament:
20 * RSM-52
6 * 533 mm torpedo tubes
Crew: 170
Some links for those who want to know more:
http://en.wikipedia.org/wiki/Typhoon_class_submarine
http://www.atrinaflot.narod.ru/1_submar ... /0_941.htm
http://englishrussia.com/index.php/2009 ... submarine/
The model:
I will build TK-208 'Czerwony październik' by Adore, year 2002 edition. Author Slawomir Dreger is for a name inspired by a book by T.Clancy, the motives which the film was shot. The name "Red October" is pure fiction, however, none of the 941's bore such name ever.
The A3 kit has 5 BW and 7 colour pages. Shape looks okay, but when it comes to details there is much to be done.
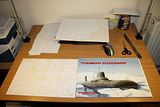
OK, enough has been said. Let's go to the building itself. Beginning the hull construction, divided into the lower and upper part, beginning with the bottom one:
TK-208 / Adore Model / 1:200
Moderatorzy: laszlik, kartonwork, Tomasz D.
TK-208 / Adore Model / 1:200
Ostatnio zmieniony ndz sty 30 2011, 9:25 przez aro0, łącznie zmieniany 1 raz.
Hi guys,
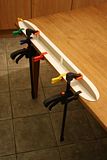
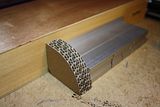
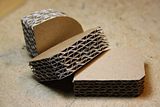
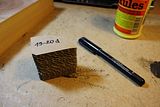
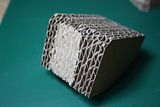
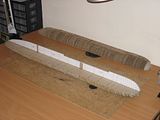
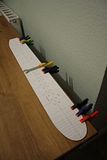
I made a small progress finishing the lower part of hull. The cardboard skeleton itself was standard, but an infill was a bit of an issue. I decided to use cardboard (both layered and solid) cut and glued as follows:
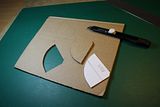
first I drew over the shape of a diaphragm and cut the piece of cardboard out :
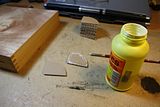
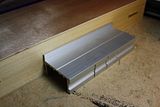
then I glued cardboard pieces together forming sections, to create 90deg angle I used a box from paints and right angled prism:
the ready sections I marked up and put away for later use, also in some sections I had to sand grooves for connection members of skeleton:
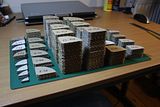
a group photo of all sections:
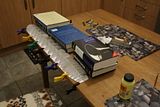
last thing was to finish the skeleton:
and infill it with ready sections, for smaller sections I used solid cardboard rather than layered:
All this is time-consuming procedure but also a bit of fun. I shall use this procedure for all bulky parts of model; then I’ll sand the hull as a whole.
That would be all for now, I shall let you know when I finish the upper part of hull
Regards
Hello.
Great model and great modeller. It's very interesting using of wave cardboard.
I will take a look often to watch a progress of building...
Great model and great modeller. It's very interesting using of wave cardboard.
I will take a look often to watch a progress of building...
W budowie: RWD-13 w trzech osłonach: wieśniacki SP-BMW, SP-BFD i SP-ATJ Wiarus. Wszystkie z aeroklubu bielskiego (aleksandrowickiego).
Jak ogarnie mnie pracowity zapał, siadam sobie cichutko w kąciku i czekam, aż mi przejdzie.
Hi guys,
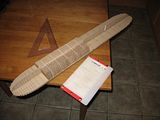
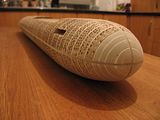
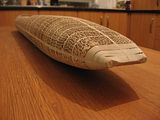
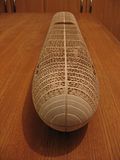
I finished the upper half of hull using the same procedure as for lower half. Nothing extraordinary, but as the top surface of missile section had to ne planned before finishing other sections (due to easier acess) I tried sanding for the first time. It was better then I had expected . The honeycomb structure is easy to sand, it’s not very hard but at the same time not too soft so there is less risk of ‘oversanding’.
Few photos:
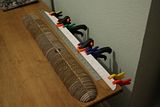
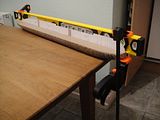
For sanding I used simple aid – plastic kitchen chopping board with sand paper nailed onto it, it helped to spread pressure during sanding over larger area and the resultant surface was reasonably flat. The last photo shows the difference between flat sanded upper surface and unsanded sides:
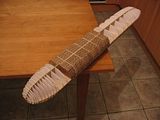
bulkheads glued and the hull filled in:
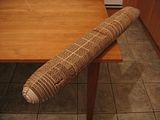
It would take me few days to finish sanding, here are the results:
As you can see, the aft is not 100% finished yet, I’ll do the final tuning after I complete horizontal stabilization fin which I’m currently working on.
CU then